Building
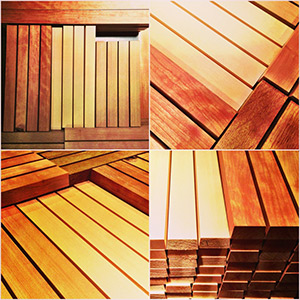
Once we agreed on the type of wood and sizes for each drum shell, Jefferson set off to begin building the staves. The staves are the foundation of these shells; different sized drum shell will require different sized staves in regards to angle, height, and width. While reading up on the stave building process I found a great diagram that makes it easy to visualize how everything comes together to create the shells:

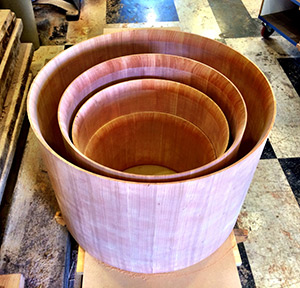
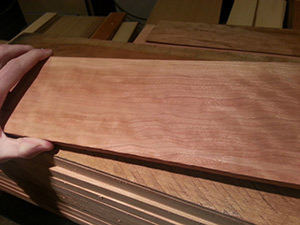
I would make sure to stop by as frequent as possible while Jefferson was going through the steps of building this beauty. He suggested I come by to help place the staves; each stave had brilliant grain patterns which look better when placed side by side in a strategic fashion, rather than some random order. The next part was gluing up the shells.
I was taken aback when I learned that Jefferson only used the Elmer’s white glue brand (the same glue I used to eat back in first grade during arts & crafts) to glue together all of his wooden masterpieces, including the drum kits. Apparently it creates a stronger molecular bond, fusing the staves together as it seeps into the pores of the wood. I helped Jeff glue up some of the shells and it was priceless to be a part of building my own drum kit.
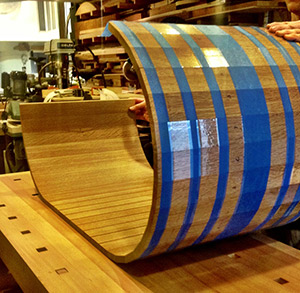
Each shell is wrapped up, glued together, and clamped down to let the glue dry. Jeff used a form of tie-down straps to clamp the staves together but I am assuming there are other clamping methods that are also used.
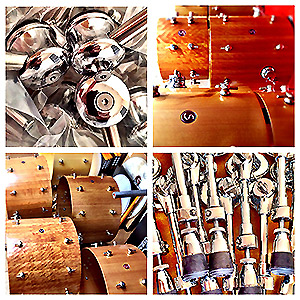
Lathing each shell is what takes the ridged stave circles to a more acceptable looking drum shell. Jefferson has refined the lathing process over time to come up with an appropriate thickness according to the type of drum. The edges of each shell are of utmost importance; this is the point of contact between the drum and drum head, and need to be consistent in order to product the best sound/tuning possibilities. The drilling of the hardware and vent holes precedes the rigorous sanding process, which gives the shells a soft and smooth finish.
Once every shell was taken through this shaping process, it was time for Jeff to add the finishing touches.
Choosing the Wood
Finishing